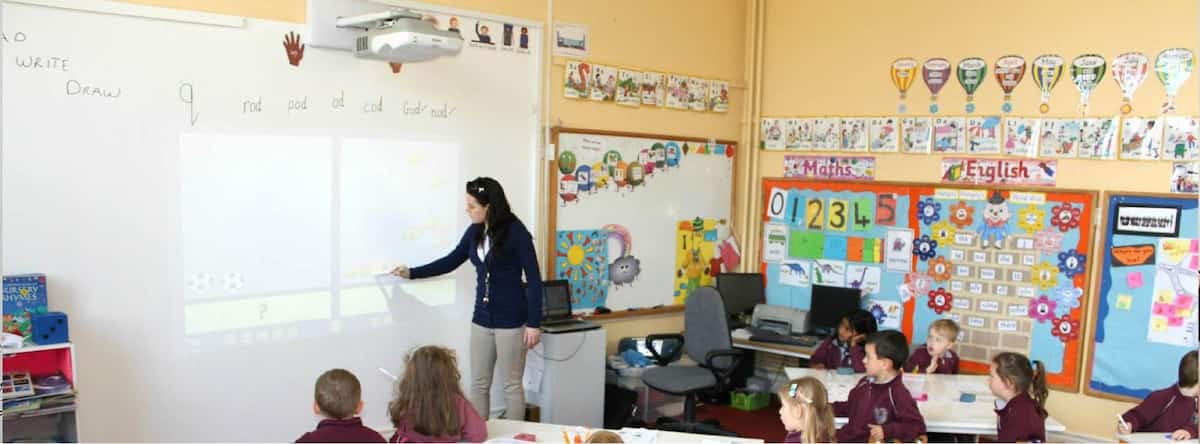
Learning environments are evolving rapidly as are the learners. The attention span among humans, especially young students decreased by an alarming 25% between 2000 and 2015 and it has kept shrinking. Ensuring attentiveness in a classroom is a challenge for teachers across the globe. There is a need to look further than the traditional methods of engaging students.
The whiteboard is like a centrepiece around which classroom interactions revolve. When it comes to enhancing the collaborative potential of a classroom, the whiteboard is the first apparatus to target.
Replacing a whiteboard with a writable wall
Replacing a wall-mounted whiteboard with an entire wall that you can write and draw on has some obvious advantages.
- The interactions are not limited by the size of a whiteboard
- The shape and structure of the wall don’t dictate the size of the writable surface
So, the first idea is to turn entire classroom walls into whiteboards instead of having wall-mounted whiteboards. Now, the question is how should you create such a writable wall?
How to create a writable wall for a classroom?
There are two methods that you can choose from when it comes to creating a writable wall.
- You can apply dry-erase whiteboard paint to the wall.
- You can apply a whiteboard wallpaper
Applying whiteboard paint to classroom walls
You can apply whiteboard paint on any regular wall. You can even work your way around wall-mounted fixtures like electrical boards and panels. All you need is to make sure that the wall is smooth and primed. Make sure the primer is absolutely dry before applying the whiteboard paint.
It usually takes 3-4 days for the paint to cure. After that, the wall starts functioning as a dry-erase writable surface. You can write on it with dry-erase markers and wipe it clean with microfibre cloths.
How to create a whiteboard wall in any colour?
If you want a whiteboard wall that also reflects your school colours, you can use clear whiteboard paint.
After priming the wall, paint it with whatever colour you want. A lighter shade would be better if you are planning to use dark dry-erase markers. After the paint is dry, apply a coat of clear whiteboard paint. The paint will create a transparent layer of hard dry-erase surface on your wall without compromising the colour.
Applying a whiteboard wallpaper
Applying a whiteboard wallpaper is even easier. All you need is some vinyl over vinyl adhesive to apply whiteboard wallpaper on your classroom walls. Apply two coats of the adhesive and then apply the wallpaper on it before the adhesive dries out. Once the adhesive dries up, your wall is ready for use as a dry-erase writable surface.
While the wallpaper is a faster solution, it can pose some challenges if the wall is not empty. Cutting and overlapping is a task for professionals. You can do it yourself, but it will take some effort.
A multipurpose writable wall
Technology is playing a crucial role in the evolution of learning environments across the world. Projection screens are a vital component of technology adoption in classrooms, and it is also a hurdle that many schools find hard to cross.
Where does the projection screen stay when it’s not in use, who is responsible for installing it, every time a teacher needs it, and how to maintain it properly? All these questions puzzle school administrators continuously.
Thanks to the award-winning technology of Smarter Surfaces, a company that specialises in high-performance functional paints and wallcoverings, you can now have whiteboard walls that double as projection screens and magnetic boards.
You can apply a matt whiteboard paint that can work as a projection screen in high-ambient light conditions or you can use a magnetic projection screen whiteboard wallpaper. The last one ties three functionalities into one.
A magnetic projection screen whiteboard wallpaper manifests the true essence of a multipurpose writable wall in a classroom. You can use this wall to write and draw while projecting on it. You can also stick notes, papers, and cards to it with magnets. As far as creating a great learning environment goes, you can’t get a more wholesome package than this.
Bottom line
Engaging young minds is hard, but once you create an environment that stimulates their creativity and collaborative spirit, half the job is done. This is the right time to think out of the “board”, eliminate the boundaries, and give flight to the young imaginative minds.


